
.png)
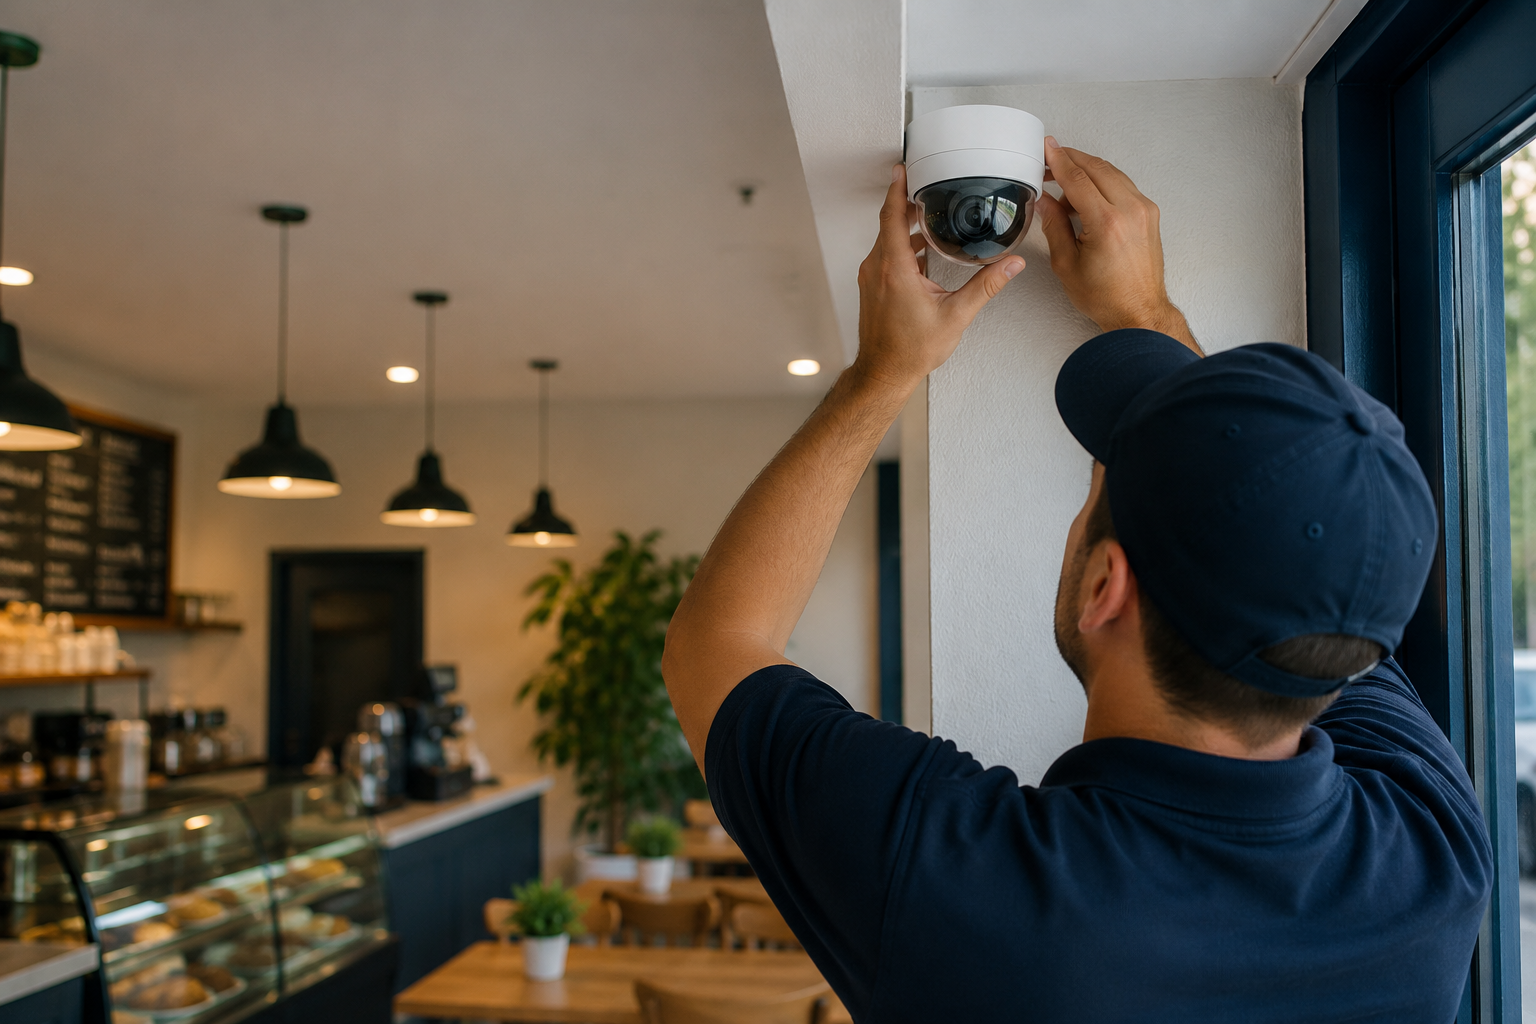
Security camera placement is the difference between a system that protects your property and one that just fills a wall with monitors. Where you position each camera decides what it can actually see, and a camera pointed at the wrong angle or hung in the wrong spot leaves gaps exactly where you need coverage most. The goal is not to blanket the site with lenses. It is to put the right view on the areas that carry the most risk, so that when something happens, the footage you pull is clear enough to be useful. This guide walks through where cameras belong, how to mount and angle them, how to handle light and darkness, and the placement mistakes that quietly waste a good system.
Good security camera placement starts with a purpose for every camera, not a count. Before you mount anything, walk the property and sort it by value and exposure. Which doors and gates does everyone pass through? Where do you keep cash, inventory, tools, or records? Which corners stay empty and unwatched after hours? A camera can identify a person, deter someone from trying, or simply monitor activity across a wide area, and each of those jobs calls for a different position and lens. When you match each view to a specific reason, you stop buying cameras to cover a floor plan and start covering the risks that matter. If mapping this out feels like guesswork, a security consultation can put a plan behind it before any hardware goes up.
Every way in and out deserves a camera before anything else gets one. Front doors, back doors, loading docks, delivery bays, stairwells, elevator lobbies, and parking gates are the choke points where nearly everyone has to pass, which makes them the best place to capture a clear, usable face. Position the camera so it faces people as they approach and enter, not as they walk away, and keep the view tight enough that a face fills a meaningful part of the frame. Cameras at these points work best alongside access control, so a recorded image lines up with a logged entry, and they pair naturally with alarm monitoring that flags an after hours door before anyone reaches it. If you only place a handful of cameras, the entrances are where they earn their keep.
Inside the building, aim coverage at the places where loss or conflict tends to start rather than spreading cameras evenly down every hallway.
Point of sale counters, cash rooms, and reception desks handle money and interactions that occasionally go wrong. A camera positioned to see both the register and the customer side settles disputes and discourages the quiet forms of internal theft that add up over time. In stores, this coverage supports the rest of your retail loss prevention effort by putting a clear record behind every transaction.
Stockrooms, supply closets, server and utility rooms, and file storage hold value that is easy to walk off with and hard to notice missing right away. A single camera on the door of each of these rooms tells you who went in and when, which is often all you need. In larger buildings, this is the same thinking behind warehouse inventory protection, where covering the few points stock moves through beats watching every aisle.
Outside, coverage should start at the property line and work inward. Parking lots, the building exterior, alleys, side yards, and ground floor windows are where trouble gathers before it reaches a door. Wide views cover open lots and approaches, while tighter placements watch specific weak spots like a loading area or a gap in the fence. On an active construction site, where the layout changes week to week, this outer ring matters even more because there is no finished wall to fall back on. The table below sorts the priority zones most properties share and what each camera in them should be set up to capture.
Height and angle decide whether a well chosen location actually delivers. Mount a camera too high and you capture the tops of heads instead of faces. Mount it too low and it becomes easy to block or knock aside. Aim for a height that keeps the lens out of easy reach while still catching faces at a slight downward tilt. Just as important, overlap the fields of view so the edge of one camera picks up where another leaves off, because the blind spot between two cameras is exactly where someone will stand. Watch for anything that will grow or move into the frame over time, like a tree branch, a stacked pallet, or a seasonal display, and keep the line of sight clear. Much of this comes down to installing the system properly, since even a perfect location fails when the mount or wiring is an afterthought.
A camera is only as good as what it can see when the light is bad, and in the Pacific Northwest that means most of the winter afternoon. Bright light behind a subject is the common trap: a lens aimed at a sunlit doorway or a west facing window at dusk records a dark silhouette instead of a face. Position cameras so the main light falls on the subject and not into the lens, and choose units with strong low light or infrared performance for entrances, lots, and any area that stays dark. For sites that need eyes on the property after hours, pairing well placed cameras with live video monitoring turns a passive recording into a chance to respond while something is still happening.
A few habits quietly weaken otherwise solid systems. Asking one camera to cover too much is the most common: a single wide shot of an entire lot looks reassuring on the screen but rarely gives you a face or a plate you can use. Mounting everything as high as possible trades usable detail for a broad view no one can identify anyone in. Pointing a lens into direct light, ignoring the gaps between cameras, and forgetting that outdoor units need weatherproof housing and the occasional cleaning all show up later as footage you cannot rely on. The principle is simple: fewer cameras placed with intent beat more cameras hung wherever there happened to be a mount. If you are still deciding on the hardware itself, it helps to understand the types of surveillance systems before you finalize where each camera goes.
Placement also means knowing which views to leave alone. Cameras should never cover restrooms, changing areas, or anywhere people reasonably expect privacy, and exterior units should be framed to watch your own property rather than a neighbor's windows or interior. Audio adds another layer. In Washington, recording sound carries stricter rules than recording video, which is why many businesses run their systems without audio or limit it carefully. Because the specifics depend on your property type and how the footage is used, confirm the current requirements with the appropriate authority, such as the applicable RCW, or a qualified professional before you enable any features that capture sound.
The best system is the one placed around your building's real risks, and getting there is easier with someone who has mapped coverage for properties like yours. Stonewall Security handles commercial camera installation and monitoring across Seattle and other areas in Washington, from planning where each camera goes to keeping an eye on the video surveillance once the system is live. If you want coverage designed to close blind spots instead of just adding cameras, request a camera coverage consultation and we will actually respond.

